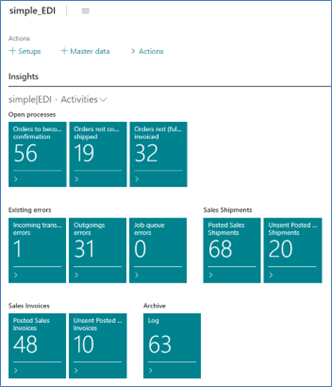
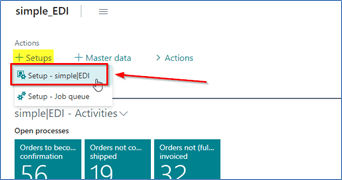
We have built a new RoleCenter called “simple_EDI”. It contains all the lists, setups and actions you’ll need to implement the module in your BC – and also to work in your daily business:
2.2 Permission sets
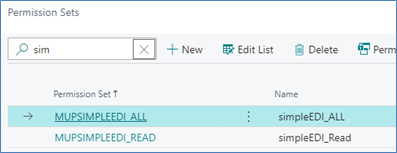
By installing/publishing the simple|EDI app, two new permission sets have appeared:
The “ALL”-permission set contains all permissions for all objects added by the module. The “READ”-permission set contains only read-permissions in all tables and the permissions to execute pages and codeunits that are added. Make sure that all users who process orders have fully permission to the module.
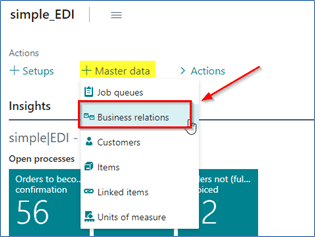
To set up the basic functionalities you have to identify the customers (and their shipping addresses), whose sales transactions are to be processed via EDI.
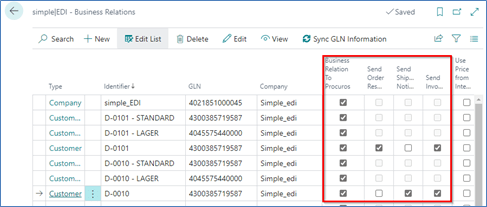
Therefore, you open the page “simpleEDI – Business Relations”:
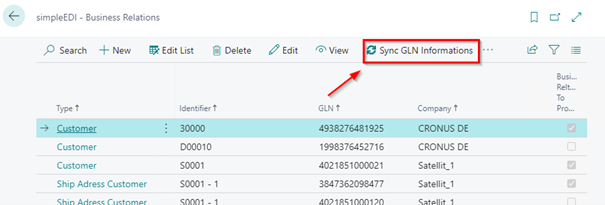
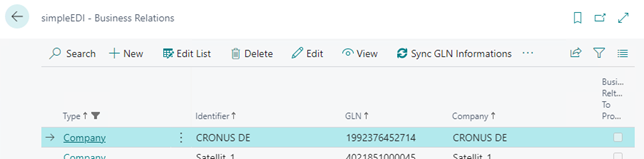
If you already have filled GLNs in customer cards and/or shipping addresses, you can sync these information into the list that is used for this module:
Mark the checkbox “Business Relation to Procuros” to activate the possibility of data exchange via Procuros. For each customer you have also to decide, which document type you want to send via Procuros:
In connection with the customer you have also to decide, whether the transmitted prices are to be transferred to the order or (if it is not desired) whether the standard-BC rules for prices and discounts of an item are to be transferred to the order.
If you have different shipping addresses for a customer, make sure that you have entered a GLN and that you’ve activated these addresses for transferring via Procuros. If there’s the case, that not all shipping addresses (and/or customers) should be sent via Procuros, you might deactivate the checkbox.
After you have installed/published the simple|EDI module and sync your existing customers once as described, you can also maintain the GLN on the customer card or on the shipping address card if you want. But we recommend to do that on our “simpleEDI – Business Relations” page, as you can activate and edit each entry more quickly here.
During the whole sales process, when posting, sending or receiving data via EDI, an active relationship with the customer and his shipping address is required – also for our own company. Transactions without active relationships can’t be transacted from or to Procuros. They will cause an error message in the log and in the Procuros portal.
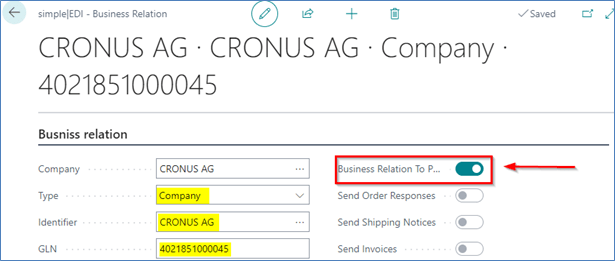
2.4 Activate a company or companies for Procuros EDI-funcionalities
It is also necessary to enter the GLN of your own company or the companies in your database, if the are more than one. You may have already done this in the “company information” page. If it has already been done, the function “sync GLN information” fills the “simpleEDI – Business Relations” table:
If you don’t have yet entered a GLN code for your company, either enter it in the “Company Information”-Card, or (recommend) create a new entry here in the “simpleEDI – Business Relations” table for each company in your database to be linked with Procuros:
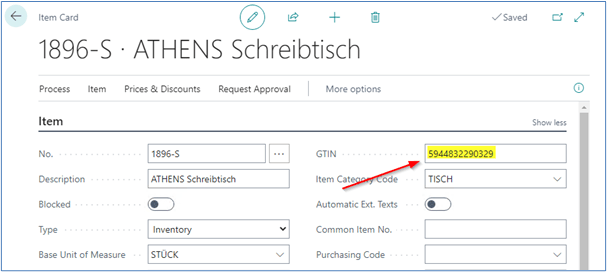
After activating customers, their addresses and our own company/companies to be transmitted via EDI, we have to enter the GTiN on the item card – if not yet done before.
Incoming transactions where a GTiN is not found in your item data will not be transferred to the BC. An empty GTiN will result an error message in the log and in the Procuros portal.
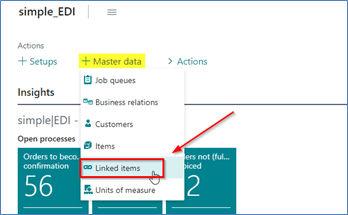
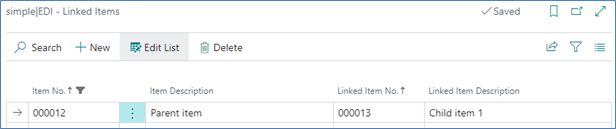
Also there’s the possibility to bring additional items automatically into the sales order, e.g. for deposits. Here we have a new table to link these items – the ordered item and the deposit item:
The transmitted “is deposit” indicator is not necessary for linked items to be included in the sales order. If there’s an entry in this specific table without the “deposit”-flag, the linked item is also pushed into the document.
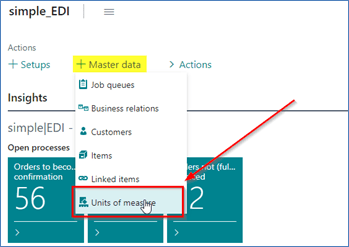
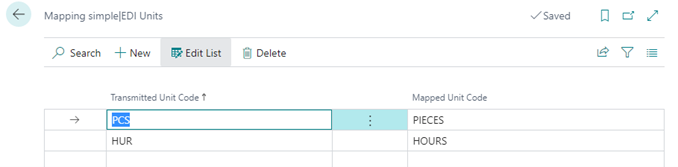
Your customers may not use the same codes as you, e.g. for pieces, sets or lump sums. To avoid entering every code a customer uses into your database and set up sales prices for them, you can enter allocations:
Incoming transactions where a unit of measure is not found either in in the “unit of measure” table or in the mapping table are not transmitted to the BC. They will cause an error message in the log and in the Procuros portal.
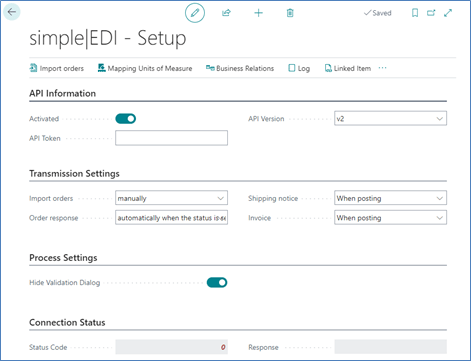
Once you have maintained your master data to be transferred via Procuros, you now need to set up the API connection and the options for when transactions should be transferred:
Please follow the steps below to edit fields, options and functions:
1. Enter the given API-Token and activate the setup with the given API-Version (normally v2) 2. Decide, at which time/with which action the incoming and outgoing transactions are triggered
a. Import orders: • Manually, to receive orders only when the function is called from this setup page • intervallic, to use a job queue that allows you to take control about the start times and the time between runs. We recommend to use this option.
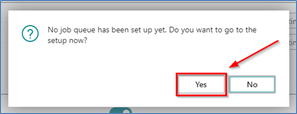
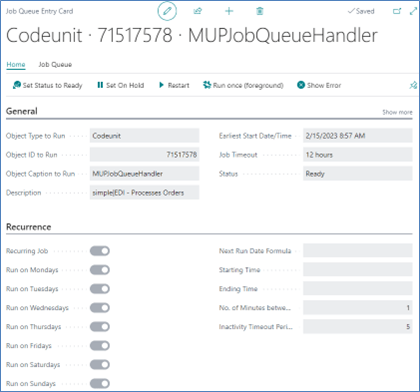
1. If not already done, initialize the job queue:
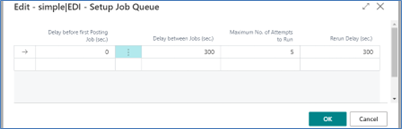
2. Decide the time delays between the runs
3. If you want you can edit the job queue:
If you decide to switch from the intervallic to the manual option, the job queue is automatically deleted. If the import method is “intervallic”, you can’t import manually.
b. Order Response: • Automatically when the status is set, to send a confirmation according to your decision (accepted, modified, rejected) simultaneously • Manually, to send the confirmation only by hand from the sales order list (or card) or from the role centre page.
c. Shipping notice: • When posting, triggered automatically after posting the shipment • Manually, to send the shipping notice only by hand from the sales order list (or card) or from the role centre page, or even the posted shipment page
d. Invoice: • When posting, triggered automatically after posting the invoice • Manually, to send the invoice only by hand from the sales order list (or card) or from the role centre page, or even the posted invoice page
3. Activate the Setup to ensure, that the transmission works.
If you want to import new orders in the background without confirming messages, it would be helpful to activate the flag “Hide validation Dialog”.